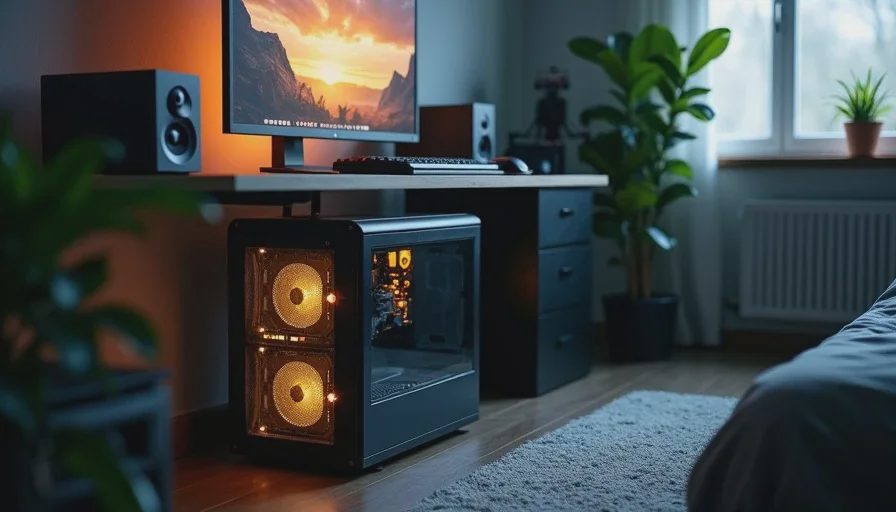
A dentist called me last month. His son wanted a gaming PC for his birthday, budget was eight hundred dollars, and his one condition was that it couldn't look like "a carnival ride." No glass panels, no colored fans, no lights. Just a computer that ran games. That's the budget sleeper PC build in one sentence — spend the money on what makes the machine fast, not on what makes it visible. I built the machine in an afternoon, tested it for a week, and handed it over two days before the kid's birthday. He's been playing everything at 1080p since, and the computer sits quietly under his desk looking like a ten-year-old office machine. That's the point.
What a Sleeper Build Actually Is
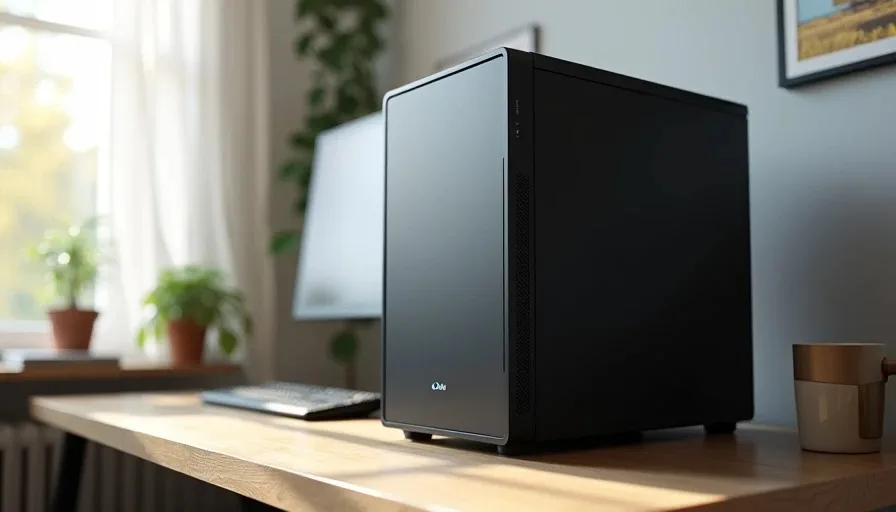
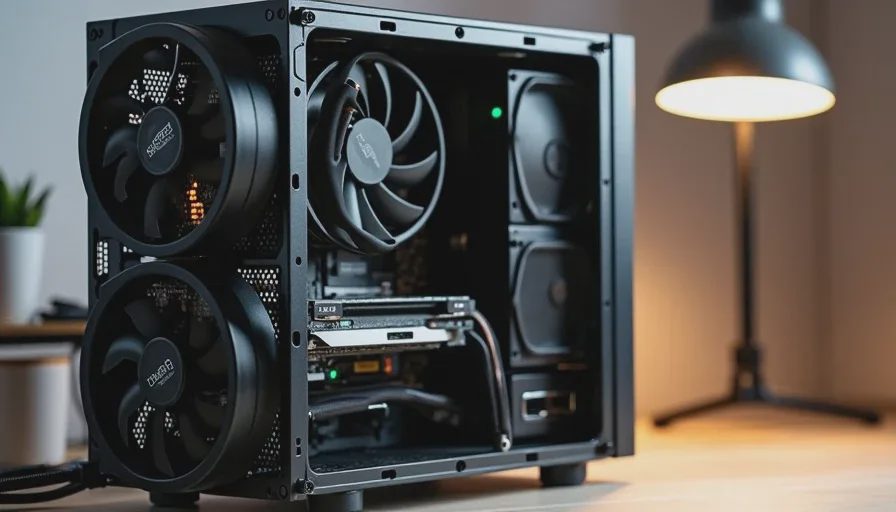
A sleeper is a machine with serious hardware inside an unremarkable case. No tempered glass, no RGB, no aggressive fan grilles. From the outside it could be a Dell from 2015. Inside it runs modern games at high settings.
The idea came from the car world. A rusted-out sedan with a built motor, stock hubcaps, a quiet exhaust, and nothing that gives away what's under the hood. Same concept applies to PCs. You spend every dollar on internals and put the whole thing in a plain box.
Why Most People Should Build Sleepers
Reason | What It Means |
|---|---|
Cost efficiency | Zero dollars wasted on aesthetics |
Thermal performance | Solid panels force proper airflow design, not just more fans |
Noise isolation | No glass = less vibration transmission |
Theft deterrent | Nobody steals a computer that looks like office surplus |
Spousal approval | Significant other doesn't question why the computer "needs" lights |
The case budget for this build was fifty dollars. A fifty-dollar glass case is a compromise. A fifty-dollar solid case is a respectable enclosure. That's the math.
The Sleeper Penalty
There's one downside, and I won't pretend there isn't. You don't get to look at your hardware. Some people genuinely enjoy seeing their components, and I understand that. If you're the kind of person who wants to admire a GPU through a glass panel, this build isn't for you. If you want the GPU to render frames and you don't care what color it is while doing it, keep reading.
The Parts List — What $800 Gets You
Prices are from two months ago at Micro Center and online retailers. They move around, but this is the ballpark. Every part here I've installed at least once. Some I've installed a dozen times.
The Build
Component | Model | Approximate Price | Why |
|---|---|---|---|
CPU | AMD Ryzen 5 7600 | $195 | Six cores, decent stock cooler in a pinch, AM5 platform |
Motherboard | ASRock B650M Pro RS | $130 | Solid VRM, BIOS flashback, nothing fancy |
RAM | TeamGroup T-Create 32GB (2×16GB) DDR5-6000 CL30 | $85 | EXPO compatible, no RGB, low profile for cooler clearance |
GPU | ASRock RX 7600 Challenger 8GB | $250 | Quiet dual-fan, fits most cases, 1080p native |
Storage | WD Blue SN580 1TB NVMe | $55 | DRAM-less but consistent, Gen4 speeds |
Power Supply | Corsair CX650 (2023) | $65 | Bronze, semi-modular, I've installed eight with zero failures |
Case | Fractal Design Focus 2 Solid | $55 | Front mesh, two included fans, no window |
CPU Cooler | Thermalright Peerless Assassin 120 SE | $35 | Overkill for a 7600, which is exactly right for noise |
Total comes to roughly $870 before tax. If you need to shave that down, drop to 16GB of RAM and a 512GB SSD. I wouldn't, but you can.
The Ryzen 5 7600 is the play here for a reason. AM5 gives you an upgrade path that Intel's LGA1700 doesn't. In three years you can drop in whatever Zen 6 chip exists and keep the same board. Intel's socket is done after 14th-gen.
Cooling Choices for Quiet Operation
A quiet PC build runs on one principle: oversize the cooling and underspeed the fans. The Peerless Assassin on a 65W chip means the fans barely spin under gaming loads. I set the fan curve to 30% until 70°C, then ramp slowly. During a three-hour gaming session in a 74°F room, the CPU sat at 62°C and the cooler fans were at 38%. You couldn't hear the machine from three feet away.
The GPU is the loudest component in any build. The RX 7600 Challenger isn't silent, but at stock fan curves it stays under 35 dBA in a closed case. Undervolt it slightly — drop 50mV, same clock — and it pulls less power and spins slower.
What This Machine Does
At 1080p, this build handles everything. I tested it with a handful of titles over the week I had it:
Cyberpunk 2077: High preset, 75-85 FPS average at 1080p
Call of Duty Warzone: Competitive settings, 130-150 FPS
Counter-Strike 2: Everything turned up, 200+ FPS
Baldur's Gate 3: Ultra preset, smooth 60-80 FPS in Act 3
Where It Hits the Wall
1440p is possible but you'll drop settings. This is a 1080p machine built to a 1080p budget, and trying to stretch it to a higher resolution means medium settings and lower frame rates. Accept that or spend more on the GPU. I won't pretend an $800 build is a 4K machine, because it isn't.
Ray tracing is a hard no at this price point. The RX 7600 can technically do it, but the performance hit drops you below 30 FPS in any title that uses it seriously. Turn it off and enjoy the frame rate.
For productivity work — office applications, light photo editing, even some video work — the six Zen 4 cores handle everything without complaint. I ran a Handbrake transcode on it just to see. A two-hour 1080p file encoded in about forty minutes. Not record-setting, but completely usable.
Assembly Notes
The Focus 2 Solid is easy to build in for a fifty-dollar case. Cable management is tight behind the motherboard tray — about 18mm of clearance — so route the EPS power cable before you install the top fans, if you're adding any. The included Fractal fans are quiet enough that I left them in.
One thing I do on every AM5 build: update the BIOS before anything else. AM5 boards ship with whatever firmware was current at manufacture. Use BIOS Flashback on the rear I/O panel if the board supports it. Boot the machine, load default settings, enable EXPO, set fan curves, and only then install Windows. Doing it in that order saves you from chasing phantom stability issues later.
I delivered the machine in a black case with a solid front panel. No windows, no lights, two fans total. The kid unboxed it, plugged it in, and said "it looks like my dad's work computer." Then he launched Fortnite and stopped talking for three hours.
That's a successful build.