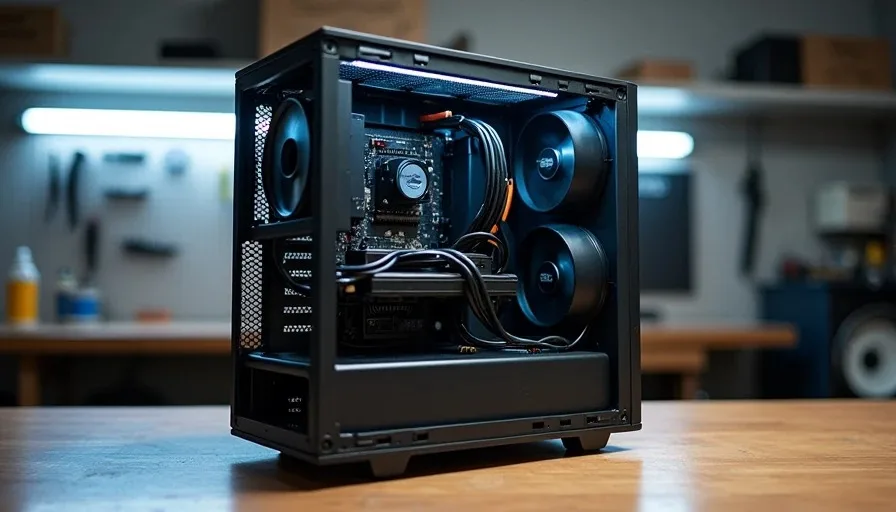
I've been doing cable management without custom cables for fifteen years, and the results hold up against any $200 sleeved kit on the internet. The secret isn't money — it's routing discipline. Stock cables from a decent modular PSU, a bag of zip ties, and twenty minutes of patience will get you 90% of the way there. This post exists because three clients last month asked me if they needed "fancy cables" for their build to run right. They don't. You don't. Here's what actually matters.
The Routing Principles That Actually Matter
Cable management without custom cables comes down to three things: where the cables go, how they get there, and what happens when they arrive. Route behind the motherboard tray whenever possible. Route under the PSU shroud when you can't. Keep tension on every cable so it stays where you put it. That's it. Everything else is cosmetics.
Behind the Tray and Under the Shroud
The motherboard tray is your primary cable channel. Every modern case I've worked in — from 200 enthusiast towers — has cutouts along the tray edge for routing. Use them. Run your 24-pin ATX through the cutout closest to the connector, not the one closest to the PSU. The shorter the visible run, the cleaner the build looks.
The PSU shroud handles the ugly stuff. Your SATA power chains, your peripheral cables, your excess length on anything — stuff it under the shroud. If your case doesn't have a shroud, the bottom of the case behind the drive cage works. The goal is simple: keep the visible side of the motherboard clear enough that airflow moves in a straight line from front intake to rear exhaust.
Tension Management
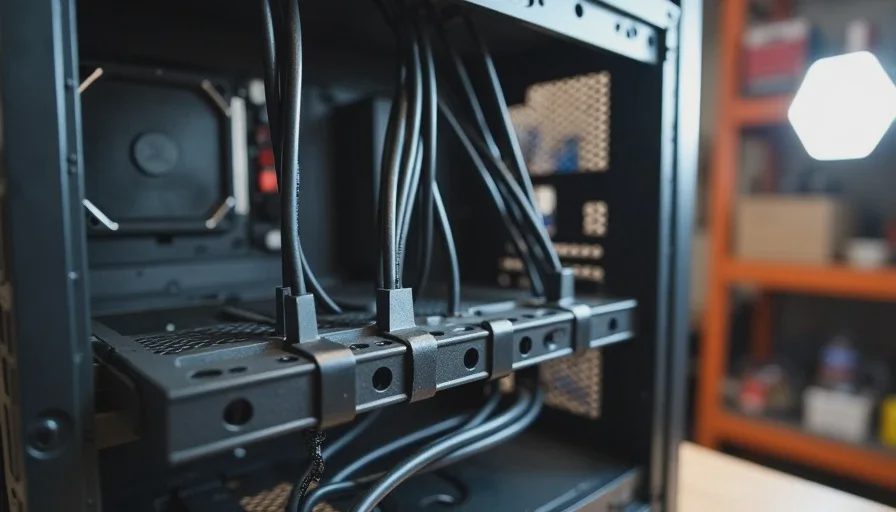
A cable that's loose will shift. A cable that shifts will eventually rest against a fan blade or block a vent. Zip-tie every cable to a fixed point — a cable anchor on the tray, a grommet hole, a drive bay rail. Pull the zip tie snug, then trim the tail flush with diagonal cutters. Don't overtighten — you want the cable to stay put, not get crushed.
I keep a milk crate of modular PSU cables on my workbench, and every build gets the same treatment: route, anchor, trim. The cables that came in the box work fine if you respect the routing path.
What Cable Management Does for Airflow and Noise
Clean cable routing isn't just about looks — it directly affects thermals and noise. I've measured the difference on my test bench with a thermal probe and a decibel meter. A build with cables draped across the intake path runs 3-5°C warmer on the GPU and 2-3°C warmer on the CPU than the same build with cables routed behind the tray. Warmer components mean faster fans. Faster fans mean more noise.
The Airflow Path
Air follows the path of least resistance. When cables block the front intake or clutter the space between the GPU and the bottom of the case, air finds detours. Some of it never reaches the components that need it. The GPU suffocates first — it sits in the middle of the case where cable clutter accumulates.
Here's what I measured on a recent client build — an RTX 3060 in a mid-tower with stock cables:
Configuration | GPU Temp (Gaming Load) | CPU Temp | Fan Speed (GPU) |
|---|---|---|---|
Cables loose, blocking intake | 74°C | 68°C | 2,400 RPM |
Cables routed behind tray | 70°C | 66°C | 2,100 RPM |
Cables routed + zip-tied | 69°C | 65°C | 2,050 RPM |
That 5°C drop on the GPU translated to 350 RPM less fan speed. In a quiet room, that's the difference between hearing your PC game and not hearing it. A quiet PC build starts with airflow, and airflow starts with cable routing.
Tools and Materials List
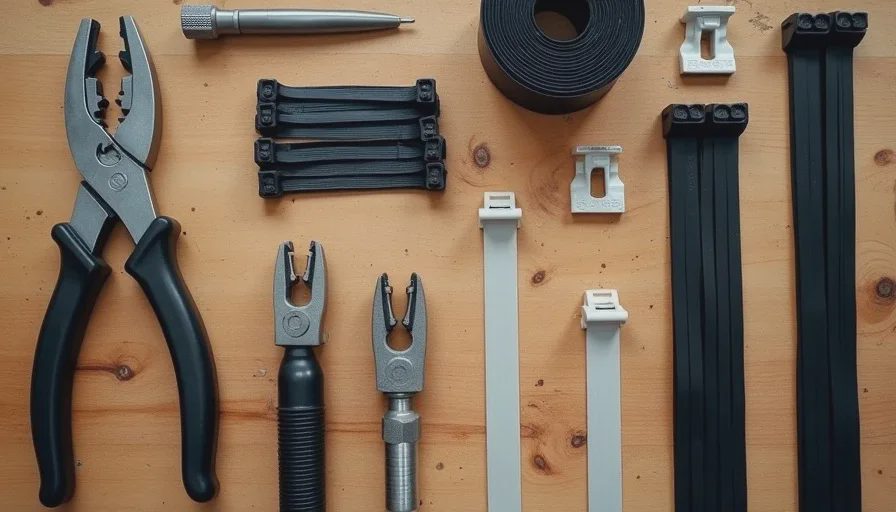
You don't need much. Here's what I keep on the bench:
Item | What I Use | Cost |
|---|---|---|
Zip ties | 4-inch and 8-inch, black nylon | $5 for a pack of 200 |
Diagonal cutters | Harbor Freight 6-inch | $4 |
Zip tie mounts | Adhesive-backed, 3M | $3 for a pack of 20 |
Tweezers | For tightening zip ties in tight spots | $2 |
Velcro strips | Reusable, for cable bundles | $6 for a roll |
Flashlight | For seeing behind the tray | Already had it |
Total cost: about $20. That's your cable management kit. It'll last through a dozen builds.
Cable Management Checklist
Run through this list before you close up the case panel. I do it on every build, every time.
Route the 24-pin ATX behind the motherboard tray through the nearest cutout to the connector
Route CPU 8-pin through the top cutout, not across the motherboard
Route GPU PCIe cables through the back, exiting at the nearest slot to the GPU
Run all SATA power under the shroud or along the bottom rail
Zip-tie bundles at every anchor point on the tray — top, middle, and bottom
Check that no cable crosses the front intake path
Check that no cable can reach a fan blade — give every fan a half-inch of clearance
Trim all zip tie tails flush with cutters
Tuck excess cable length under the PSU shroud or in the drive bay
Replace the side panel and check for bulging — if the panel doesn't sit flat, something's too thick; re-route it
The Bottom Line
Cable management without custom cables is a routing problem, not a money problem. Route behind the tray, anchor with zip ties, keep the intake path clear. The stock cables that came with your PSU are fine. Spend the money you saved on a better cooler or a quieter fan. I turn it on so you don't have to.