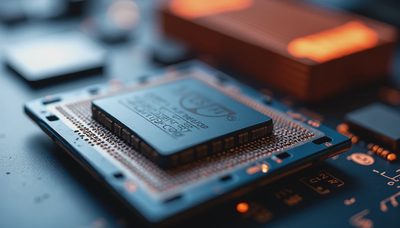
A guy drove 45 minutes from Katy to my garage last month with a mid-range PC build that wouldn't post. New B650 board, Ryzen 5 7600, DDR5 kit, RTX 4070. He'd spent an entire Sunday on it, re-seated the CPU twice, re-applied thermal paste, swapped the power supply with his old rig, and was about to RMA the motherboard. I pulled the side panel, looked at the RAM — two sticks in slots A1 and B1 instead of A2 and B2 — pushed one stick until I heard the second click, and it posted on the next power cycle. He stared at me for about ten seconds, then said the word I hear at least twice a month: "Seriously?" PC won't post troubleshooting almost always starts somewhere other than where people look, and where it starts is RAM.
Why RAM Is the #1 Offender in No-POST Builds
I track every repair that comes through my garage. Not in a spreadsheet — I'm not that organized — but in my head. Over the past three years, roughly sixty percent of no-POST builds brought to me had the RAM in the wrong slots, not fully seated, or mismatched in ways that prevented training. Not the CPU. Not the power supply. Not the GPU. RAM.
This makes sense when you think about it. A CPU socket only goes one way — the triangle matches the triangle, the lever locks, done. An ATX power connector is keyed. A GPU clicks into the PCIe slot with a very obvious latch. But RAM? DDR5 sticks have 288 pins that all need to make contact simultaneously. The slot has a retention clip on one or both ends. The stick needs firm, even pressure along its entire length, and you need to hear two distinct clicks — one at each end — but only for boards that still use dual-clip slots. Some boards now use single-clip slots, and the procedure is different.
Here's the failure rate I see by component in no-POST builds:
Component | Percentage of No-POST Cases | Easiest Fix? |
|---|---|---|
RAM — wrong slots or not seated | ~60% | Yes, 30 seconds |
Front panel connectors wrong | ~15% | Yes, check manual |
Power supply switch/connections | ~10% | Yes, flip the switch |
CPU installation error | ~8% | No, re-seat required |
Genuine dead component | ~7% | No, RMA |
The Two-Click Problem
Every DDR4 and DDR5 stick needs even insertion pressure, but the "feel" of a proper seat varies by board. Budget boards tend to flex more, which means you hear the click but the bottom of the stick didn't fully seat. High-end boards with thicker PCBs and reinforced slots give a sharper, more definitive click.
Here's what I teach every client before they leave my garage:
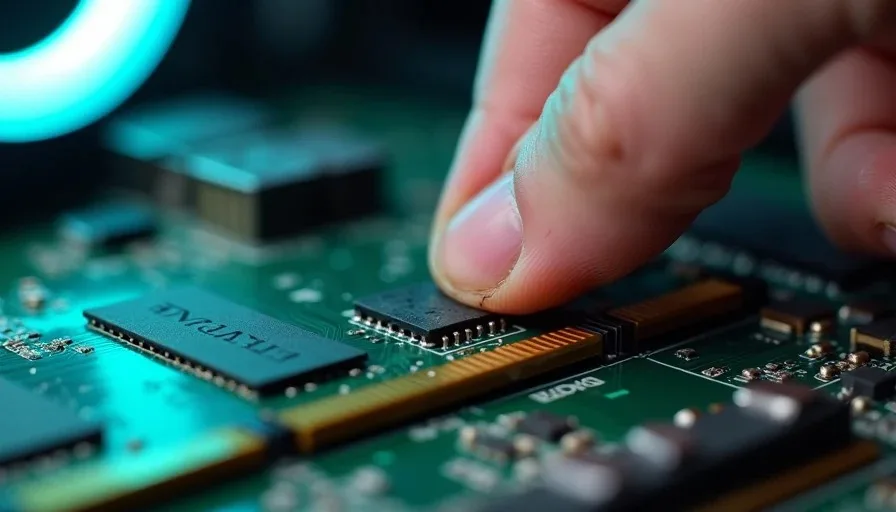
Line up the notch. The gap in the pin layout is offset — you cannot install a stick backwards without breaking something. If you're pushing hard and it won't go, the stick is flipped.
Press firmly at both ends simultaneously. Use both thumbs, one at each end, and press straight down. No rocking. No pressing one end first.
Listen for the click — both clicks on dual-clip boards. If your board has clips at both ends, both need to snap into place. If one clip doesn't engage, the stick isn't seated.
Push the clip in manually. After the stick is in, give each retention clip a firm push toward the stick to confirm it's fully engaged. I've seen sticks that clicked but the clip wasn't fully locked.
Visual check. The stick should be parallel to the board. If one end sits higher than the other, it's not in.
The Slot Configuration That Trips Everyone Up
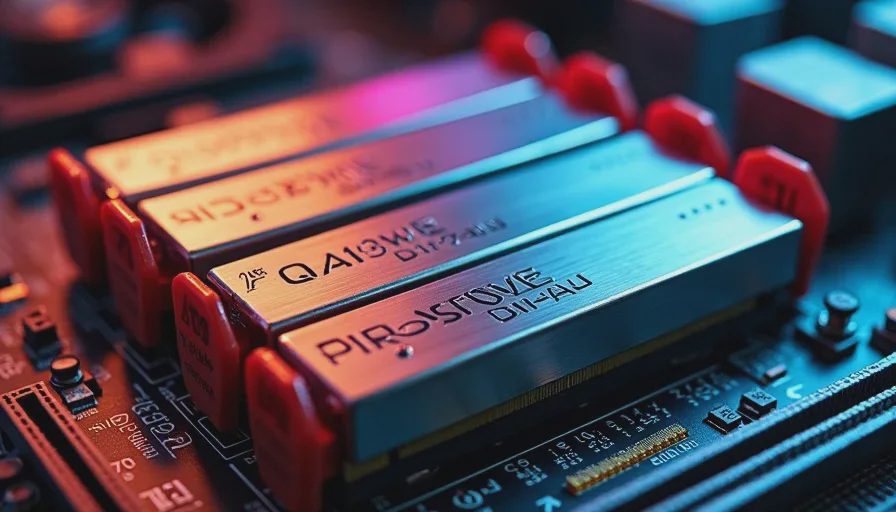
Most consumer boards have four RAM slots: A1, A2, B1, B2. The correct configuration for two sticks in a four-slot board is almost always A2 and B2 — the second slot from the CPU and the fourth slot. This is the daisy-chain topology default that every major manufacturer uses for signal integrity on DDR5.
But here's what I see constantly:
What People Do | Why It's Wrong | Result |
|---|---|---|
A1 + B1 (first and third) | Looks more "balanced" visually | No POST or single-channel only |
A1 + A2 (side by side) | Seems logical to fill adjacent slots | Single-channel operation |
One stick only, any slot | They're testing with one stick | Works in A2, may not in others |
A2 + B2 but B2 not seated | Thought it was in, heard one click | No POST, intermittent detection |
The visual layout of the slots doesn't match the electrical topology. Slots A1 and A2 share a channel, and B1 and B2 share a channel. Putting both sticks on the same channel means you're running single-channel, which costs you bandwidth and can prevent the system from training on some boards.
On a mid-range PC build 2026 spec — B650 or B760 chipset, DDR5-6000, two sticks — you want A2 and B2. The manual confirms this every time. I know because I've read more motherboard manuals in this garage than anyone should have to read in three lifetimes.
What About Four Sticks?
Four sticks fill all four slots, so you can't get it wrong in terms of configuration. But DDR5 with four sticks is its own headache: most consumer boards cannot run four DIMMs at EXPO/XMP speeds. If you're building a mid-range PC build 2026 with plans for 64GB or more, buy a two-stick kit at the capacity you need. Two 32GB sticks will run at rated speeds more reliably than four 16GB sticks on AM5 and LGA1700.
Diagnosing a RAM-Related No-POST
When a PC won't post, the troubleshooting flow should go like this before you touch the CPU or the power supply:
Step 1: Check the Debug LEDs
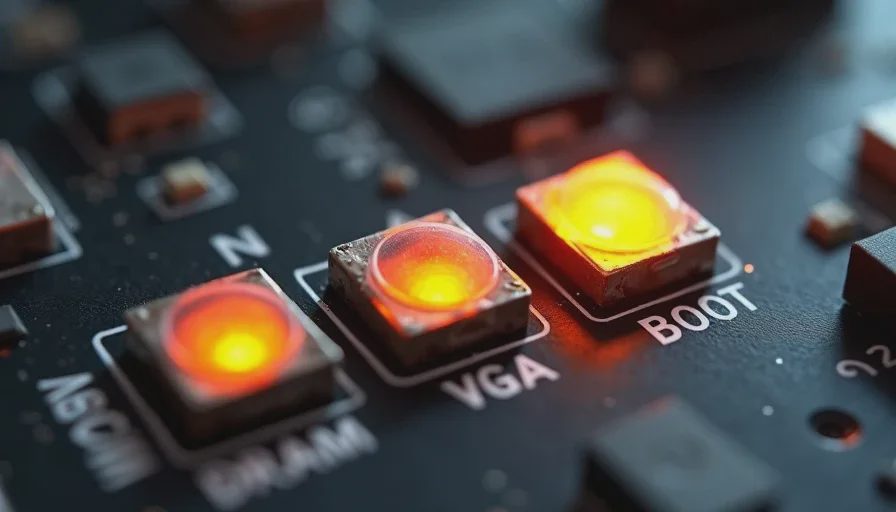
Most mid-range and higher boards have four tiny LEDs labeled CPU, DRAM, VGA, and BOOT. If the DRAM LED is lit solid or cycling between DRAM and CPU, the board is telling you it can't train the memory. This is your first and strongest signal.
Step 2: Try One Stick at a Time
Remove all sticks. Install one stick in slot A2. Try to POST. If it works, that stick and that slot are good. Repeat with the same stick in slot B2. Then test the second stick in A2. This isolates whether the problem is a specific stick, a specific slot, or the configuration.
Step 3: Listen for Beep Codes
If your board has a speaker header and you have a speaker plugged in (which you should — they cost about two dollars and save hours), the beep pattern tells you what's wrong:
Beep Pattern | Meaning (AMI BIOS, most common) | First Action |
|---|---|---|
1 short | POST successful | System booted, look elsewhere |
1 long, 2 short | Memory error | Re-seat RAM, try one stick |
1 long, 3 short | Memory test failure | Try different slot, different stick |
Continuous short | Power supply or motherboard | Check 24-pin and 8-pin CPU power |
Continuous long | Memory not detected | No RAM installed or completely unseated |
2 short | Parity error | Memory or motherboard issue |
Step 4: Clear CMOS
A failed memory training attempt can leave the BIOS in a state where it won't retry. Unplug the power, pull the CMOS battery for 30 seconds, reinstall it, and try again. On boards with a Clear CMOS jumper or button, use that instead.
Two Other Silent Killers People Blame on RAM
Not every no-POST is RAM, even though most are. Here are two things I've seen people chase for hours before they found the real problem:
Missing CPU Power Connector
The 8-pin EPS connector at the top-left of the board is easy to miss when you're routing cables. The 24-pin is plugged in, the GPU has power, the system lights up but won't POST. The board has power for the chipset and RAM but the CPU itself has no power. Check both halves of the 8-pin if your PSU uses a 4+4 split connector — I've seen only one half plugged in several times.
Standoff Behind the Board
This one is nasty because it's intermittent. A standoff installed in the case in a position that doesn't match any mounting hole on the board will press against the back of the PCB and can short traces. Sometimes it boots, sometimes it doesn't, sometimes it posts and then crashes after 20 minutes. If you moved a board between cases or used the wrong standoffs, pull the board and check every standoff position.
The 30-Second Fix That Saves a Sunday
When someone brings me a no-POST build — or calls me in a panic on a Saturday afternoon — here's the exact sequence I walk them through:
Power off, flip the PSU switch, hold the power button for 10 seconds to drain caps
Pull both RAM sticks
Install one stick in slot A2, press both ends until both clips click, push clips inward
Plug in, power on, wait up to 60 seconds for first memory training (DDR5 can take a while)
If it posts, shut down, add the second stick to B2, repeat
If it doesn't post with one stick in A2, try the other stick in A2
If neither stick works in A2, try slot B2 with one stick
If nothing works, now you've earned the right to re-seat the CPU
This sequence takes about five minutes and catches the problem in 90% of the no-POST cases I see. The other 10% are actual hardware failures, and you'll have eliminated the easy stuff before starting an RMA process you don't need.
Most people start with the hard stuff — pull the cooler, wipe the paste, check CPU pins, swap the PSU — because the hard stuff feels like the "real" problem. But in a garage in Houston, the real problem is usually two sticks of RAM that someone was too careful with. Push harder. I turn it on so you don't have to.