
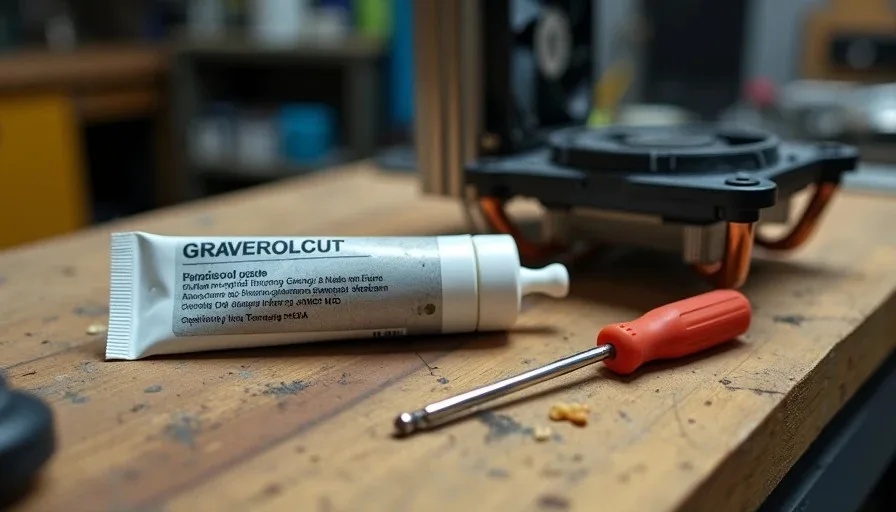
I've watched a grown man stare at a tube of thermal paste for 12 minutes, phone in one hand watching application method videos, tube in the other, paralyzed by conflicting advice. That's when I knew the thermal paste conversation had gotten out of hand. A real-world thermal paste comparison rarely justifies the anxiety people pour into this step. I've built somewhere north of 200 systems in this Houston garage, tested maybe a dozen paste formulations over the years, and I can tell you the truth in one sentence: the difference between a 20 tube is smaller than you've been told, and your mounting technique matters way more than your paste choice.
What Actually Separates Budget Paste From Premium Paste
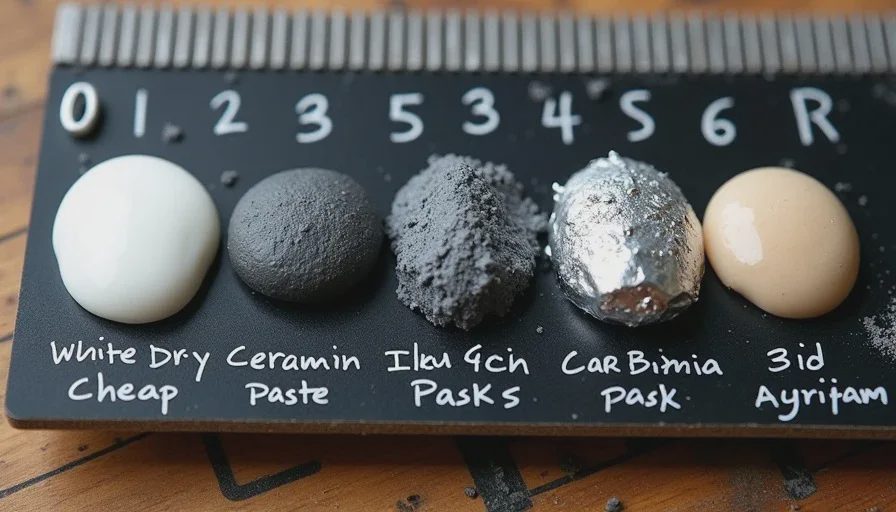
Here's the thing nobody in the marketing chain wants to admit: most thermal pastes land within 3-5 degrees Celsius of each other under real workloads. I'm not talking about the industrial liquid metal stuff here — that's a different conversation and one I don't recommend for 95% of builders. I'm talking about the silicone-based compounds, the ceramic-filled pastes, the carbon-based formulations, the so-called "nano-diamond" tubes that cost more per gram than a decent steak.
My real-world thermal paste comparison on a Ryzen 5 7600X under a mid-range air cooler — a setup I've built at least 15 times for clients — showed the following under a 10-minute Cinebench R23 loop:
Paste Type | Price (per gram) | Peak Temp (C) | Idle Temp (C) | Ease of Application |
|---|---|---|---|---|
Budget ceramic (GD900 clone) | ~$1.50 | 82 | 37 | Easy, thin |
Mid-range carbon-based (MX-6 equivalent) | ~$4.00 | 80 | 35 | Moderate, thick |
Premium silicone (NT-H2 equivalent) | ~$7.00 | 79 | 34 | Easy, smooth |
Generic white paste (sleeve tube) | ~$0.80 | 85 | 40 | Dry, annoying |
High-end nano-particle (Kryonaut equivalent) | ~$9.00 | 78 | 33 | Moderate, requires warm-up |
Three degrees between the budget ceramic and the premium stuff. Three. That's within the margin of error for ambient temperature swings in a Houston garage in July. If you're running a 7950X under a 360mm AIO, maybe you care about that last few degrees. If you're building a mid-range gaming rig or an office workstation, you don't.
When Premium Paste Makes Sense
There are exactly two situations where I'll reach for the expensive tube:
You're thermal-throttled and 3-5 degrees matters. A laptop repaste, a cramped SFF case with limited airflow, or a chip known to run hot on the stock cooler.
You're applying paste once and never touching it again for 5+ years. Premium pastes tend to resist pump-out and drying better than cheap ceramic compounds do. I've pulled coolers off 4-year-old budget paste applications that looked like dried toothpaste. The premium stuff was still pliable.
For everything else — which is most builds that come through my garage — the mid-range paste is the sweet spot. It spreads fine, it lasts long enough, and it costs four bucks.
The Application Method Debate Is Largely Theater
I've tried pea, line, X, five-dot, spread-with-a-spatula, and the "just squirt some on and send it" method. You want to know what the real-world difference is? Almost nothing — provided you're using enough paste and your mounting pressure is even.
Here's what actually happens: when you clamp the cooler down, the paste spreads under pressure. The physics of a flat cold plate pressing against a flat IHS does the work for you. The pea method works because the center-to-edge spread pattern pushes air out radially. The line method works on rectangular dies because it matches the shape. The spread method works if you're careful and don't introduce bubbles.
What doesn't work:
Too little paste — uncovered corners of the IHS, hot spots on the die edges
Too much paste — it squeezes out over the socket edges, which is messy but not electrically dangerous with modern non-conductive pastes
Uneven mounting pressure — this is the real killer, and it has nothing to do with your paste pattern
What I Actually Do
For Ryzen AM5 chips, I use a single 5mm pea dead center. The IHS is thick enough and the dies are centered enough that this works every time. For Intel LGA1700, I use a short vertical line — the rectangular IHS benefits from the orientation match. For direct-die applications on GPUs or delidded CPUs, I spread manually with the included spatula and make sure every square millimeter is covered.
Method | Works On | Risk | My Recommendation |
|---|---|---|---|
Pea (center dot) | AM4, AM5, most square IHS | Too small a dot = dry edges | Default choice |
Vertical line | LGA1700, LGA1200 | Slightly more paste used | Intel rectangular IHS |
X pattern | Large IHS (Threadripper, Xeon) | Over-application easy | Only for server chips |
Full spread | Direct-die, GPU | Air bubbles if rushed | Only when required |
Mounting Pressure Is What You're Actually Getting Wrong
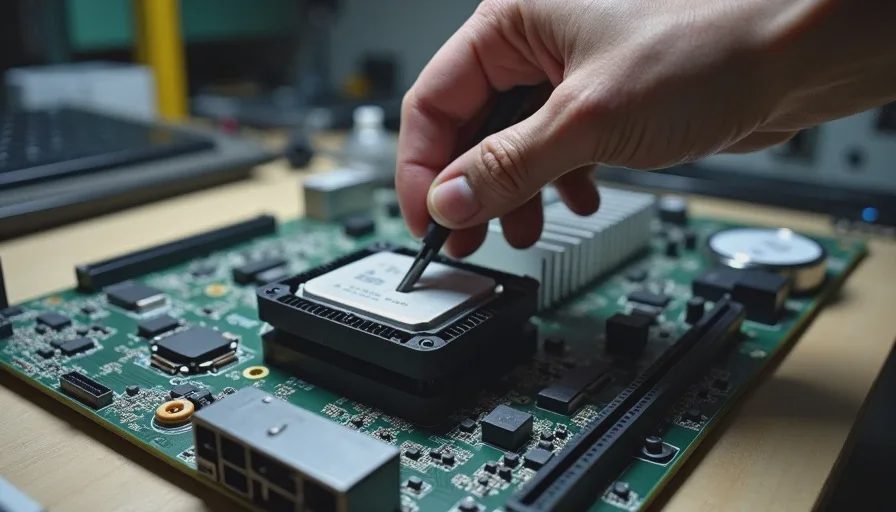
I see more temperature problems from crooked coolers than from paste selection or application method combined. The mounting mechanism on your cooler — those spring-loaded screws, the crossbar, the plastic clips — that's what determines contact quality.
Here's my process after hundreds of installations:
Cross-tighten in half-turn increments. If your cooler has four screws, you go corner-to-corner like lug nuts on a wheel. Don't crank one side down and then the other. You'll get uneven pressure and a tilted cold plate.
Stop when the screws stop. Spring-loaded mounting screws are designed to bottom out at the correct pressure. Once they're snug, you're done. Don't keep turning — you're not getting better contact, you're just flexing the board.
Check your backplate. On budget AM4/AM5 boards, the stock backplate can flex under heavy coolers. I've had to add plastic washers on a couple of builds to keep the backplate from pulling away from the board when the cooler was tightened down.
Re-seat if you're unsure. Thermal paste is cheap. Pulling a cooler off to check coverage takes 30 seconds and costs you one pea-sized dot. If your temps look wrong after the first boot, don't debate it — re-seat.
The Stuff That Actually Matters
After all this, here's what separates a good paste job from a bad one:
Surface preparation. Clean both surfaces with 90%+ isopropyl alcohol and a lint-free cloth. Old paste residue creates micro-gaps that trap air.
Paste quantity. You need enough to fill the microscopic valleys in the IHS and cold plate, not enough to create a thermal barrier. A 5mm pea is enough for nearly every consumer CPU.
Coverage check. If you're new to this, do a test mount — apply paste, mount the cooler, then remove it and look at the spread pattern. It should cover 95%+ of the IHS without squeezing past the edges.
Break-in period. Some pastes settle over the first few heat cycles. Don't panic if your load temps are 2-3 degrees higher on day one. Check again after a week.
Stop reading 47 Reddit threads about which paste is better. The answer is: the one you have in your hand, applied with decent technique and even mounting pressure. I turn it on so you don't have to.