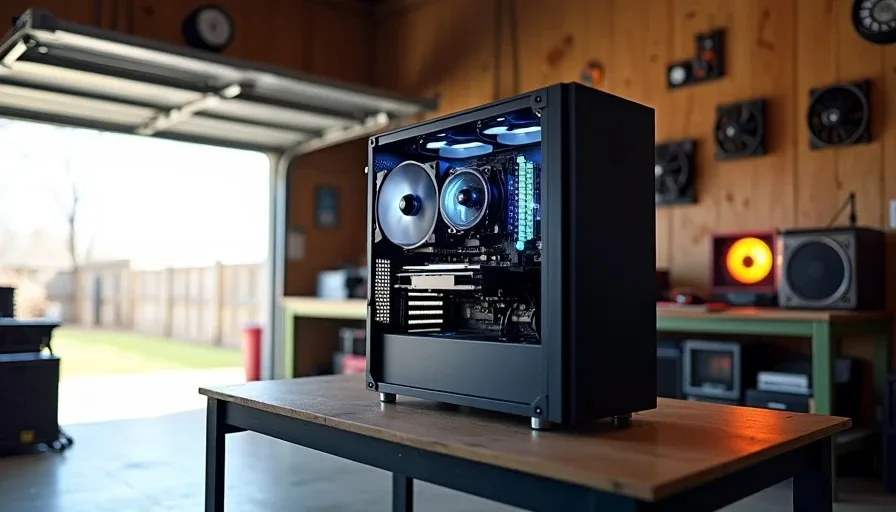
Houston heat will wreck a poorly planned PC build faster than any benchmark will. From June through September, my garage sits at 95-105°F during the day, and I've measured internal case temperatures above 45°C before a single component fires up. As a Houston PC builder who tests every system in that garage before delivery, I've had to figure out what actually works when the ambient temperature is fighting you at every step. The answer is rarely "bigger cooler." The answer is airflow discipline, undervolting, and knowing when air cooling beats liquid. If you want a quiet PC build that survives Texas summer, here's what I've learned from three years of testing in conditions most reviewers never see.
Why AIOs Struggle When Ambient Is Already 100°F
All-in-one liquid coolers are rated against a 22°C (72°F) ambient baseline. When your ambient is 38°C (100°F), the radiator can only cool liquid to about 10-15°C above ambient at most — meaning your lowest possible liquid temperature is 48-53°C before the CPU even adds heat. That leaves almost no thermal headroom. I've watched a 240mm AIO on a Ryzen 7 5800X hit 92°C in my garage in August, while a $35 air cooler on the same chip held 84°C. The AIO wasn't broken. The physics were just against it. Liquid cooling's advantage shrinks as ambient rises, because the delta between the coolant and the air it's trying to dump heat into gets smaller. In a 72°F room, that delta might be 25°C. In my garage, it's 10°C. Less delta means less heat transfer.
Air Cooling Has a Hidden Advantage in High Ambient
Air coolers don't have a closed loop to fight. The heat pipe touches the CPU, moves heat to the fins, and the fan pushes it out. There's no coolant temperature to manage, no pump to fail, no radiator that becomes a heat-soaked brick when ambient is high. The trade-off is size — a good air cooler for a hot chip needs to be big, and that means clearance issues in smaller cases. But in a Houston summer, I'll take a massive tower cooler over a 240mm AIO every time. It's simpler, more predictable, and it doesn't get worse as the room gets hotter.
Undervolting — The Free Performance Fix Nobody Uses
Undervolting is the single most effective thing you can do for a quiet PC build in a hot climate. You reduce the voltage supplied to the CPU, which reduces heat output, which lets the fans run slower, which makes the system quieter — all without losing performance if you do it right. I undervolt every client build that leaves my garage. For AMD CPUs, I use Curve Optimizer in the BIOS, setting a negative offset of -15 to -25 on the all-core profile. For Intel, I use the CPU core voltage offset, typically -0.05V to -0.08V. The results are consistent and measurable.
Undervolting Results from Client Builds
CPU | Stock Voltage / Temp (FurMark CPU + Cinebench) | Undervolted Voltage / Temp | Fan Noise Reduction |
|---|---|---|---|
Ryzen 5 7600X | 1.28V / 89°C | 1.12V / 76°C | ~6 dB lower |
Ryzen 7 5700X | 1.25V / 82°C | 1.10V / 71°C | ~5 dB lower |
Intel i5-13400F | 1.21V / 78°C | 1.14V / 69°C | ~4 dB lower |
Ryzen 9 5900X | 1.30V / 88°C | 1.16V / 79°C | ~7 dB lower |
Every one of those builds passed a four-hour Prime95 run after undervolting. The performance difference in Cinebench R23 was under 2% — within margin of error. The thermal difference was enormous. When you're building in a 100°F garage, 10-13°C off your CPU temperature is the difference between a system that throttles and one that doesn't.
Case Airflow — Principles That Matter More Than Fan Count
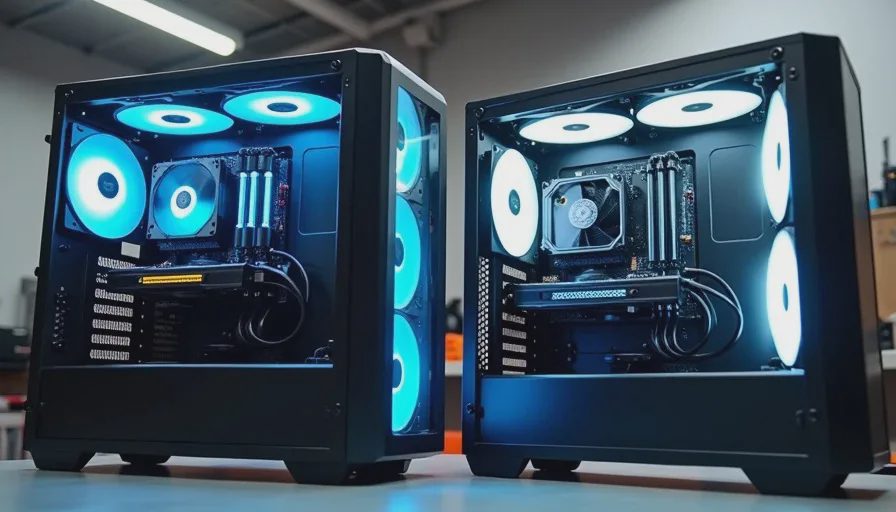
More fans don't mean better airflow. I've seen cases with seven fans that ran hotter than cases with three, because the fans were fighting each other instead of moving air in one direction. The principle is simple: intake low and front, exhaust high and rear. Air follows the path of least resistance, and if you give it a clear channel from front intake to rear/top exhaust, three well-placed fans will outperform seven poorly placed ones.
My Airflow Setup for Every Build
Two front intake fans — 120mm or 140mm, running at a modest speed (800-1000 RPM idle). These pull cool air in across the GPU and toward the CPU.
One rear exhaust fan — 120mm, matching the front fan brand for consistent noise profile. This pulls hot air off the CPU cooler and out the back.
One top exhaust fan — mounted near the rear of the top panel. Heat rises, and this gives it somewhere to go. I don't fill the entire top with fans because that creates negative pressure that fights the front intake.
Dust filters on all intakes — clean them monthly in Houston. Dust buildup is the primary cause of temperature creep I see in client systems after six months.
The goal is slightly positive pressure — more intake than exhaust — so air escapes through the case gaps rather than pulling dust in through them. You achieve this by having slightly more intake fan capacity than exhaust, not by blocking exhaust.
Fan Curve Tuning — Set It Once, Set It Right
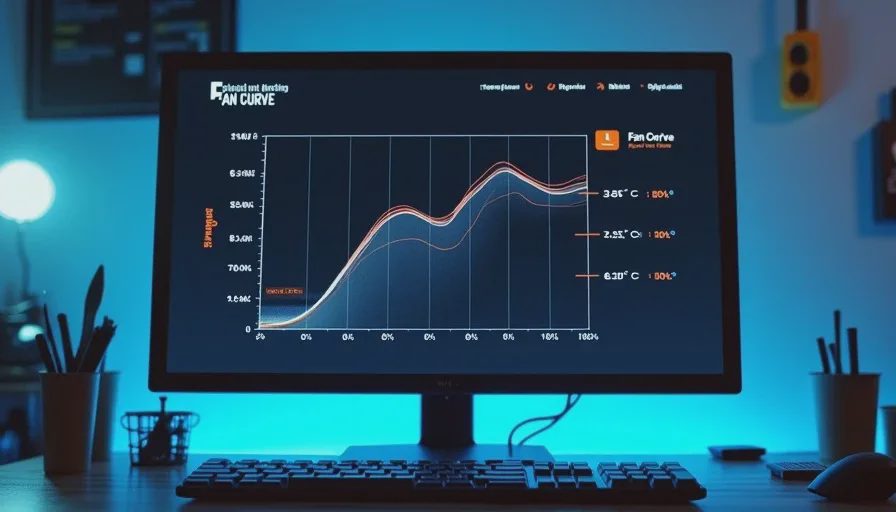
Default fan curves are garbage. Every motherboard ships with a fan curve that keeps fans at 40% until the CPU hits 70°C, then ramps sharply. That's fine in an air-conditioned office. In a Houston garage, your CPU idles at 55°C because the ambient is 38°C, and the default curve doesn't know the difference between "55°C because it's hot in here" and "55°C because something is wrong." The result is fans that ramp up and down constantly, which is both annoying and worse for the fan bearings than a steady speed.
Fan Curve Settings I Use for Hot Climates
Temperature Range | Fan Speed | Why |
|---|---|---|
35-55°C | 35% | Quiet idle, handles high ambient without panicking |
55-70°C | 45% | Gentle ramp, still quiet, normal load range |
70-80°C | 60% | Working harder, audible but not loud |
80-88°C | 80% | Full ramp, this is where you need airflow |
88°C+ | 100% | Emergency cooling, something needs attention |
The key is a smooth ramp with no sudden jumps. I set the curve in the BIOS, not in software, because BIOS curves don't depend on a background app running. I also set a minimum fan speed of 35% regardless of temperature — in a hot environment, stopping fans entirely at idle is a mistake.
Thermal Paste — When and How to Reapply
Thermal paste dries out. In a hot environment, it dries out faster. I've opened up systems that were running 10-15°C hotter than they should have been, and the cause was paste that had turned to powder after eighteen months in a warm room. The fix is simple: clean the old paste off with isopropyl alcohol, apply a pea-sized amount of new paste to the center of the IHS, mount the cooler, and let pressure spread it. Don't spread it manually — the mounting pressure does a better job than any spreading tool. I use a mid-range paste (something in the MX-4 to Kryonaut range) and reapply every twelve months on systems in un-air-conditioned spaces, every eighteen months on systems in climate-controlled rooms.
Houston summer is brutal on PCs, but the solutions are straightforward. Undervolt, manage your airflow, tune your fan curves, and keep your paste fresh. A quiet PC build in 100°F heat is achievable — it just takes more discipline than slapping parts together and hoping the thermal gods are kind. I turn it on so you don't have to.