
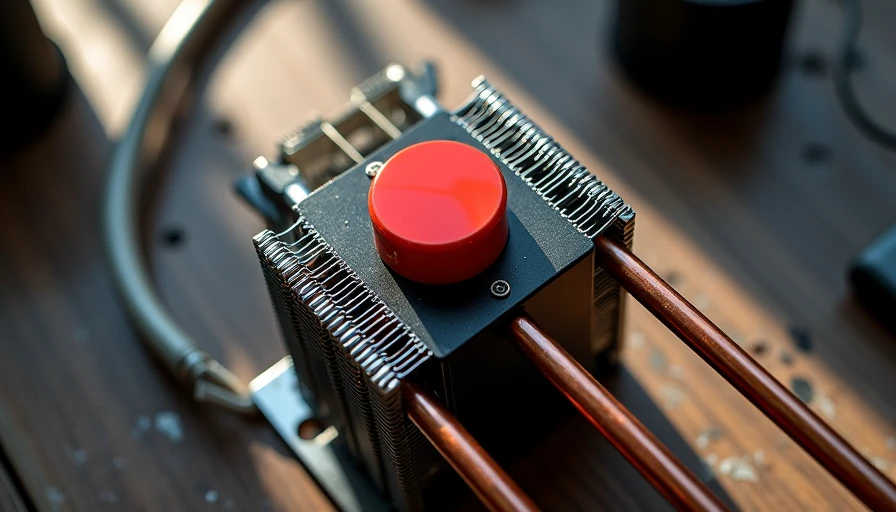
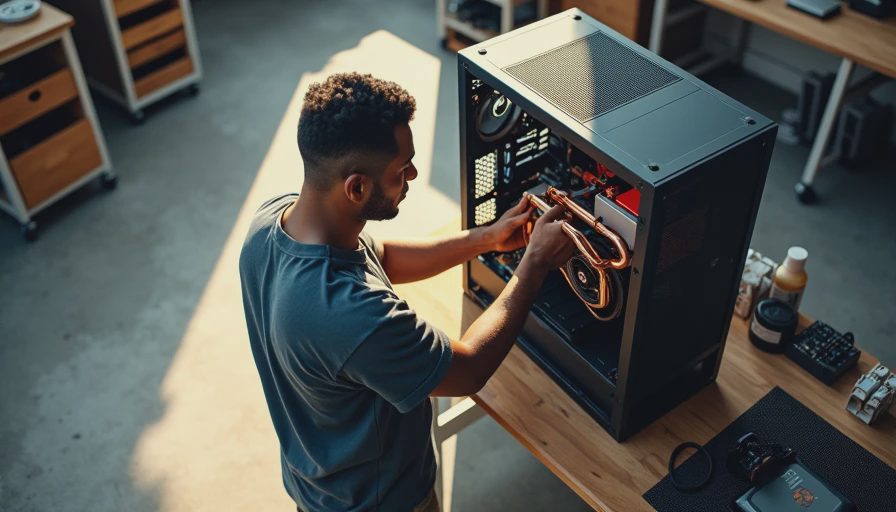
The last build that pushed me toward this article was a Ryzen 7 system on my garage bench in Houston. The owner had spent money on RGB fans, a glass-front case, and a cooler that looked like a small turbine. The CPU still hit the thermal limit during a long compile. I replaced it with a properly mounted heat pipe cpu cooler, fixed the front intake path, and the machine stopped sounding like it was trying to leave the driveway.
That is the part people miss. Cooling is not about the most dramatic product photo. It is about moving heat away from the processor, getting that heat into the air, and exhausting the air from the case. A good tower cooler does that with fewer failure points than liquid cooling and without pump noise. I turn it on so you don't have to.
How a heat pipe cpu cooler moves heat
A heat pipe is a sealed metal tube containing a small amount of working fluid. The section touching the CPU is the hot end. Heat vaporizes the fluid, vapor travels toward the cooler fins, condenses, and returns through an internal wick. The cycle repeats as long as there is a temperature difference.
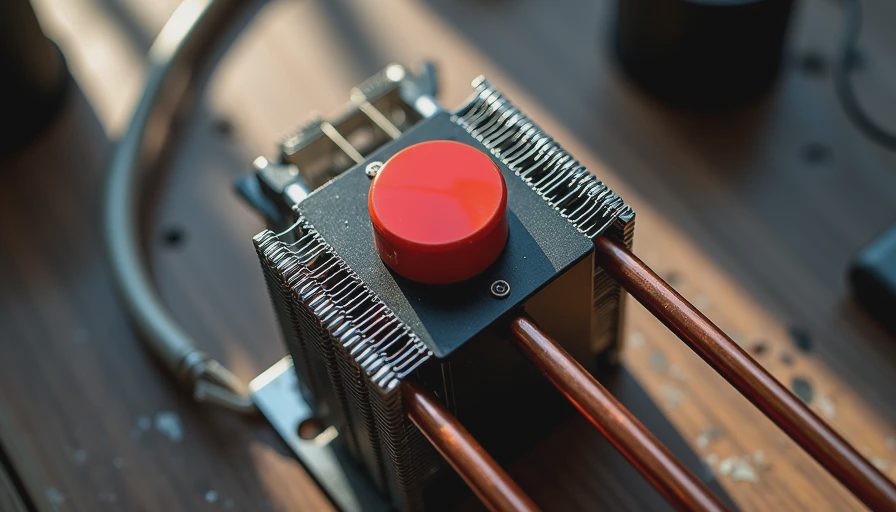
That sounds complicated, but the practical result is simple: copper heat pipes spread processor heat across a stack of aluminum fins. A fan pushes air through those fins. Larger towers generally offer more surface area, while additional heat pipes can improve how quickly heat reaches the fin stack.
Most desktop models use either four or six pipes. A compact four-pipe cooler can handle a Ryzen 5 7600, Core i5-13400, or similar chip without drama. Six-pipe models with a 120 mm or 140 mm fan are better choices for a Ryzen 7, Core i7, or a workstation that spends hours rendering. The cooler still needs adequate case airflow. A superb fin stack inside a sealed box is just a warm metal ornament.
Choosing the right size instead of the biggest one
A heat pipe cpu cooler should match the processor, case, and workload. Do not buy solely by the advertised wattage number. Those figures are often measured under conditions that do not resemble a real gaming session or a summer garage.
For a mainstream gaming PC, a cooler in the $30 to $50 range is usually the sensible starting point. The Thermalright Peerless Assassin 120 and Phantom Spirit 120 are common examples because their dual-tower layouts provide plenty of fin area for the price. Cooler Master Hyper 212-style single towers can work for moderate chips, but the exact mounting kit and fan model matter.
For hotter CPUs or sustained workloads, look at larger dual-tower models such as the Noctua NH-D15 or be quiet! Dark Rock Pro 5. These cost more, often around $90 to $120, and they are physically large. Measure the case cooler clearance before ordering. Also check RAM height. Front fans sometimes sit directly over tall memory modules, forcing you to raise the fan and lose side-panel clearance.
Small-form-factor cases need a different approach. A low-profile heat pipe cpu cooler can fit where a tower cannot, but it has less fin area and usually a smaller fan. That makes airflow direction and processor power limits more important. In a compact build, lowering sustained CPU power slightly can produce a quieter machine than forcing a huge cooler into a case it does not fit.
Installation mistakes that ruin good cooling
The most common failure is poor mounting pressure. I have seen coolers installed with one screw barely catching a thread, leaving one side of the CPU cooler base with weak contact. Another classic mistake is forgetting the protective film on the cooler base. It happens, especially during a late-night build.
Use a small pea-sized amount of thermal paste unless the cooler manufacturer provides a different instruction. More paste is not better. It fills microscopic gaps between the heat spreader and cooler base; it is not supposed to become a thick insulating blanket.
Install the backplate and standoffs according to the socket instructions. Tighten screws gradually in an alternating pattern. Stop when the spring-loaded screws bottom out or the manual says to stop. Do not lean your full body weight on a screwdriver. The motherboard is not a workbench clamp.
Position the main fan so it pulls air through the front of the tower and pushes it toward the rear exhaust fan. On most fans, the support struts identify the exhaust side. Confirm the direction before clipping everything into place. Cable routing comes after the cooler is secure, not before.
Airflow matters more than another ten dollars of cooler
A heat pipe cpu cooler cannot overcome a bad case layout. I have tested machines with three intake fans and two exhaust fans that performed worse than simpler systems because the front panel blocked nearly all incoming air. If your case has a solid front, use the available vents, keep filters clean, and avoid filling every drive bay with cables.
A practical setup is two front intakes, one rear exhaust, and an optional top exhaust behind the CPU tower. Keep the front intake fans aimed at the graphics card and cooler rather than spinning them at an arbitrary speed. In a hot room, a slightly higher intake curve often helps more than adding a top fan directly over the memory.
Do not create a wind tunnel just because a fan-control screen lets you. Excessive exhaust can pull air through unfiltered gaps and add dust. Start with moderate fan speeds, run a 20- to 30-minute CPU load, and watch temperatures, clock behavior, and noise. Then adjust one fan curve at a time.
How it compares with an all-in-one liquid cooler
A heat pipe cpu cooler has one major advantage: there is no pump. That removes pump noise and one mechanical component that can eventually fail. There is also no radiator to mount and no liquid loop occupying the front or top of the case. For a normal gaming CPU, a good air cooler is often the easier long-term choice.
A 240 mm or 360 mm all-in-one liquid cooler can provide more radiator area and may reduce peak temperatures on high-power processors. It also costs more, takes more installation planning, and adds pump and tubing concerns. Liquid cooling is not automatically quieter. A radiator full of fast-spinning fans plus a pump can be louder than a well-tuned dual-tower cooler.
I use liquid cooling when the case layout and sustained workload justify it, not because a product page has a glowing pump block. For most first builds, air cooling leaves more room in the budget for a better SSD, power supply, or graphics card.
My short buying checklist
Before buying a heat pipe cpu cooler, confirm five things. First, verify socket support for AM5, AM4, LGA1700, or the platform in your parts list. Second, check the case's maximum CPU cooler height. Third, measure memory clearance, especially with tall RGB modules. Fourth, make sure the included mounting hardware fits your motherboard socket. Fifth, decide whether the stock fan is acceptable or whether you want a quieter replacement from Noctua, be quiet!, Arctic, or another established brand.
After installation, enter the BIOS and confirm that the CPU fan is detected. In Windows, run your normal workload and then a controlled stress test. Watch for sudden temperature spikes, thermal throttling, rattling fans, or a cooler that takes an unusually long time to settle. A brief peak is not automatically a problem; sustained high temperature and reduced clock speed are the clues that matter.
The concrete move today is simple: measure your case clearance, check your CPU's real power behavior, and buy the smallest reputable cooler that gives you useful headroom. Skip the glassy marketing. Mount it square, give it clean airflow, and let the machine do its job.