
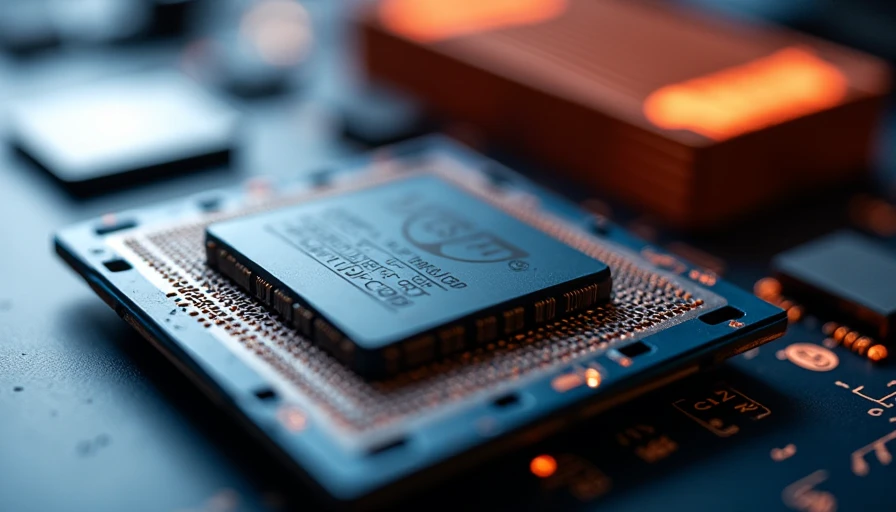
The first time I used a thermal pad for cpu cooling, I was trying to get a compact Ryzen build running before Houston turned the garage into an oven. The machine booted, but the processor hit 91 degrees Celsius during a sustained load. I pulled the cooler, cleaned everything, and installed ordinary thermal paste. The same test settled in the low 80s. That result taught me the important part: a pad is convenient, but convenience is not the same as performance.
A thermal pad for cpu installation can still make sense in specific builds. It offers cleaner handling, consistent thickness, and no tube of paste slowly drying in a drawer. The trick is using the right type, placing it correctly, and understanding where it gives up temperature compared with paste.
What a CPU thermal pad actually does
A processor heat spreader and a cooler base look flat, but both surfaces have microscopic machining marks. Those tiny gaps hold air, and air is a poor conductor of heat. Thermal interface material fills the gaps so heat can move from the CPU into the cooler and then into the fins.
A conventional thermal pad is a thin sheet of thermally conductive material. Pressure from the cooler compresses it against the CPU heat spreader. Unlike paste, it does not spread across the surface during installation. That makes thickness critical. A pad that is too thin might not fill the uneven area. One that is too thick can prevent the cooler from mounting firmly or create too much resistance between the surfaces.
This is why a thermal pad for cpu use is not automatically interchangeable with a graphics card pad. GPU memory and voltage-regulator components often need different thicknesses, sometimes from 0.5 mm to 2 mm. A desktop CPU cooler normally needs a much thinner interface material, and many generic silicone pads are simply too thick for the job.
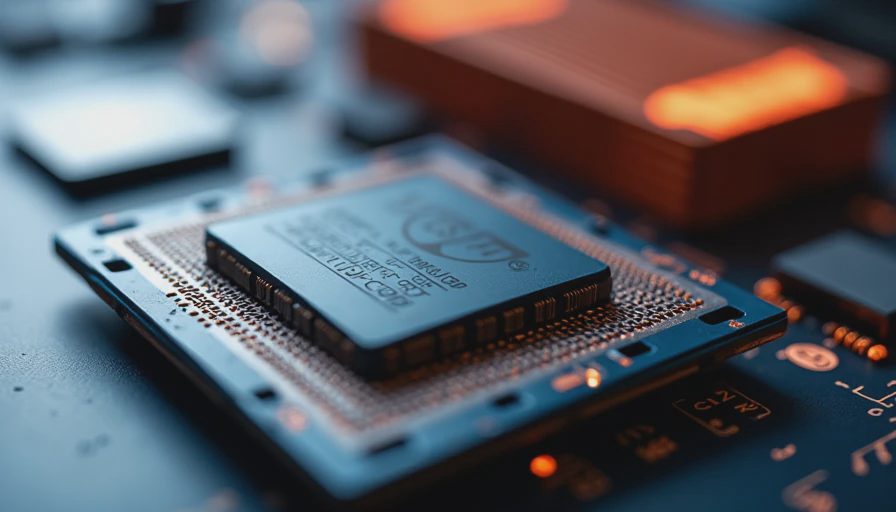
Pad versus paste: the honest comparison
For a normal desktop processor, good thermal paste is still the safer performance choice. A pea-sized application of Noctua NT-H1, Arctic MX-6, or Thermal Grizzly Kryonaut costs only a few dollars and usually produces excellent contact. Paste also handles small surface irregularities better because it flows under mounting pressure.
A thermal pad for cpu cooling wins on convenience. There is no mess on the socket, no question about whether you used too much, and no paste spreading toward the edges after repeated cooler removal. That matters in a test bench, a small form factor build, or a machine that gets serviced often. It also helps a new builder who is nervous about applying paste for the first time.
The temperature difference depends on the product and the mounting hardware. In my builds, ordinary silicone pads have often landed several degrees behind decent paste under all-core workloads. That is not a disaster for a 65-watt Ryzen 5 or Core i5, but it is less attractive on a 125-watt processor. A few degrees can also push a quiet fan curve into an annoying ramp-up cycle.
The special case: phase-change material
There is another category worth separating from basic silicone sheets. Honeywell PTM7950 is a phase-change thermal interface material that softens as it heats. It behaves more like a pad during installation but can conform more effectively after thermal cycles. Precut versions are available for common CPU sizes, although the market has plenty of questionable copies.
A quality phase-change pad can be a strong choice for a gaming PC that gets hot and cools repeatedly. It avoids the pump-out behavior that some pastes develop over time, especially when a heavy cooler and a tall vertical case apply uneven stress. I have had good results with phase-change material on demanding systems, but it still requires careful cleaning and correct placement.
Do not confuse a phase-change pad with a thick VRAM thermal pad. They are made for different jobs. The CPU material should be thin enough for the cooler to clamp down properly. If the package does not clearly state the intended application, thickness, and dimensions, put it back on the shelf.
How to install a thermal pad for cpu cooling
Start by shutting the computer down, switching off the power supply, and disconnecting the power cable. Let the system cool before removing the cooler. Twist the cooler slightly to break the old paste seal instead of yanking straight up. Pulling too hard can disturb the processor in older socket designs.
Clean the CPU heat spreader and cooler base with isopropyl alcohol and a lint-free cloth. The surfaces should be dry, smooth, and free of old paste. Do not use a paper towel that leaves fibers behind. Measure the pad against the heat spreader before removing its protective films. It should cover the contact area without hanging over the edges.
Remove one side of the film, place the material squarely, and then remove the second film. Do not touch the contact surfaces with your fingers. Lower the cooler straight down, line up the screws, and tighten them in a cross pattern with a few turns at a time. Uneven pressure can produce worse contact even when the pad itself is good.
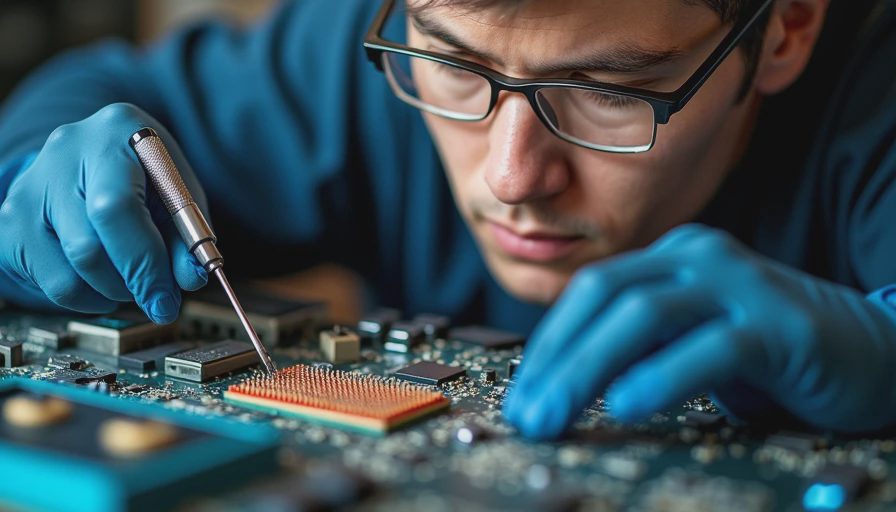
Common mistakes that cost temperature
The most common error is stacking materials. Do not put paste on top of a pad unless the manufacturer explicitly tells you to do so. The extra layer usually increases the gap and makes heat transfer worse. Another bad move is trimming a pad with dirty scissors and leaving loose pieces around the socket. A small fragment can interfere with mounting pressure.
Builders also forget to check cooler compatibility. Some tower coolers include mounting hardware for several sockets but use different pressure brackets. An AM5 system, an LGA1700 system, and an older AM4 system do not always present the same mechanical contact conditions. The cooler manual matters more than a random forum comment.
A thermal pad for cpu use can also slide during installation if the cooler is lowered at an angle. Check the alignment from two sides before tightening. If you remove the cooler after the pad has compressed, replace the pad rather than trying to reinstall the same piece. Compression changes its thickness and surface contact.
Which builders should use one
I would consider a pad for a low-power office PC, a compact machine that needs clean service, or a test bench where the cooler comes off regularly. It can also be sensible when the computer sits in a dusty work area and you want to avoid paste squeezing out after repeated maintenance.
For a hot gaming processor, workstation CPU, or overclocked chip, I would start with paste or a proven phase-change product. A Core i9, Ryzen 9, or Threadripper can generate enough heat that every avoidable degree matters. Better case airflow often helps more than changing interface material, so make sure the cooler has fresh intake air and an unobstructed exhaust path first.
The right thermal pad for cpu cooling is the one that matches the application and leaves the cooler firmly mounted. There is no prize for using a pad just because a product page calls it cleaner. Stable temperatures and a quiet fan are the actual goals.
My final check before powering on
After installation, confirm that the cooler does not rock when you gently touch it. Check that the CPU fan is connected to the CPU_FAN header, then boot into the firmware screen and watch the idle temperature for a few minutes. A sudden climb toward the high 80s at idle means something is wrong: missing film, poor contact, incorrect mounting, or a cooler fan that is not running.
Once the operating system loads, run a real workload for 10 to 15 minutes. Cinebench, OCCT, or a demanding game is enough for a first check. Compare the result with the processor's normal temperature range, not a number copied from someone else's case. If the pad performs acceptably and the fan stays quiet, leave it alone. If temperatures are clearly worse than expected, install a reputable paste and test again.
That is the practical answer. A thermal pad for cpu cooling is a useful tool, not a universal upgrade. Buy a correctly sized product, install it without shortcuts, and test the machine before trusting it. I turn it on so you don't have to.